An Introduction to Google Earth and Google Maps
Google Earth and Google Maps are two geospatial products offered by Google Inc. Google Earth exist as both a stand-alone application available for download (for PC, Mac and Linux) as well as a browser plugin that enables seamless transition to the web-based Google Maps. The two are closely integrated and in many cases present the same data. Google Earth offers a three-dimensional representation of the planet composed of satellite and aerial photographs of its surface. It is akin to an interactive, digital globe with updates of new imagery, including terrain relief, three-dimensional buildings in major cities, and an abundance of user-generated content. In contrast, the default presentation in the web-based Google Maps is more of a street map application with a focus on navigation, way-finding, and presenting location information for places and businesses. The exercises accompanying the following chapters will focus on Google Earth, as it includes powerful features that enable the overlay of images, data and information on existing imagery. Google Earth’s ability to view historical imagery allows us to see landscape changes over time, as well as the spatial representation of the different interpretations of geography featured in this textbook.
Resources: Google video tutorials
Using Google Earth
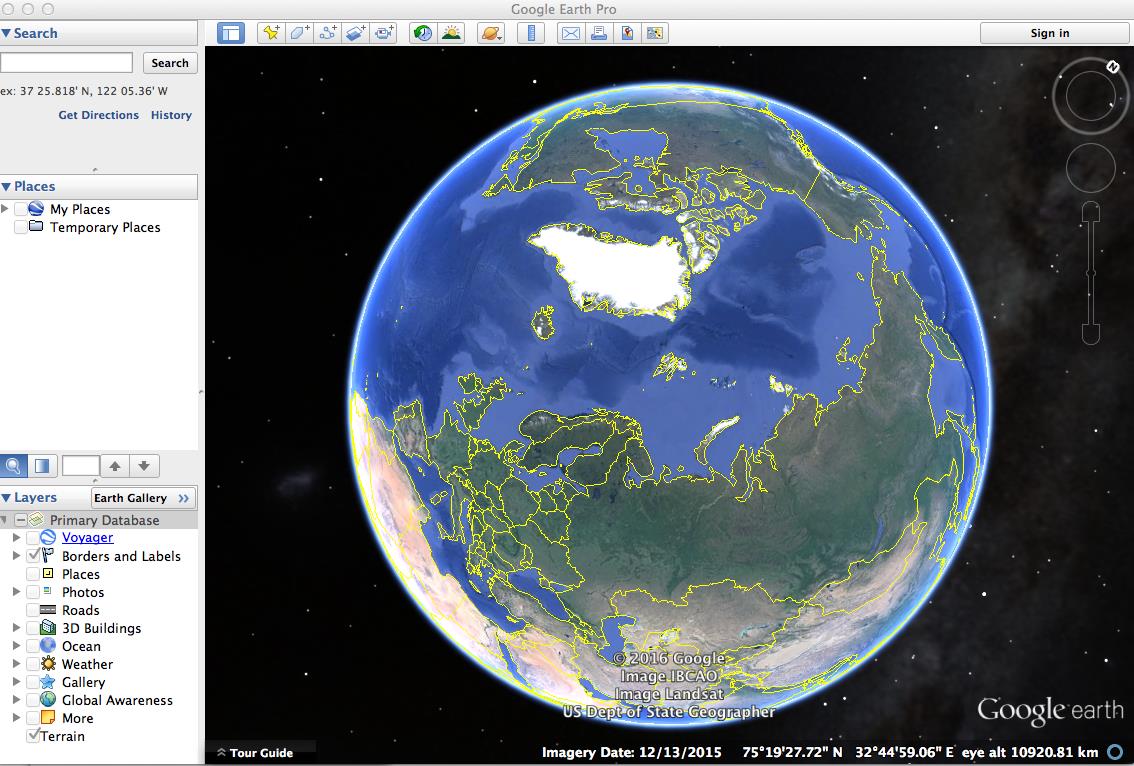
Below is Google Earth as seen at startup. The interface is simple and invites exploration—hovering your mouse over any element will bring up a description of its function. Use the mouse to manipulate the three-dimensional globe and to change zoom levels. All movement and camera angle controls are duplicated in the top right of the viewport [1]. By default, the view is perpendicular to the surface of the earth, with one’s elevation indicated in the bottom right of the interface. Zooming in very close to the surface will tilt the view to reveal 3D topography and relief. See a more detailed overview of the interface here. Hold down the right mouse button for zooming and panning functions. You can reset the angle and orientation via the view menu in the top toolbar.
A key strength of Google Earth is the ability to superimpose information on top of the base map. Data accompanying the text chapters and from your own explorations on the web will appear in the “Places” sidebar [2] on the left menu. For full-screen viewing, the sidebar can be disabled with the left-most button on the toolbar, [4] on the top menu. Below the places sidebar are Google Earth’s built-in data layers [3], including 3D buildings (currently available in most major cities), geo-referenced photos, political boundaries, roads, and several thematic layers including weather, global events, natural phenomena, and others as selected by Google staff. All layers, including those you add yourself, can be turned on and off at will.
The toolbar also contains five tools enabling users to add their own content [5]. Here you can add place marks to describe single point features, shapes or polygons to define an area, lines, image overlays, or even a recorded sequence of zoom levels and angles to create a tour of your area of interest. Google provides a startup guide on these and other features at their help site. These features serve as a rudimentary geographic information system or GIS, making Google Earth a powerful spatial tool particularly when combined with the multitude of publically available data and crowd-sourced material on the web. Google Earth Pro is now also available for free so you are also able to add your own spatial data in the commonly used ArcGIS format, import and georeference spreadsheet data and save high resolution images.
Useful Features
In the exercises accompanying the chapters of the textbook, we will use a range of Google Earth’s features. Below is a description of some of the more useful ones:
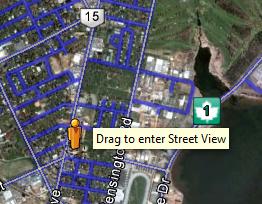
Street View: Zooming in sufficiently enables the street view icon alongside the viewport controls in the top right.
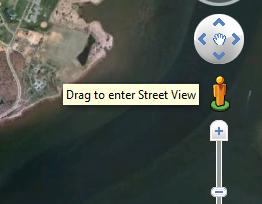
You can drag and drop the icon onto streets in North America, Europe, and some other parts of the world. This will show you the same street view you would see in Google Maps on the web.
Terrain Relief
For viewing terrain you may find the sunlight feature useful (Figure 1). You can control the time of day using the feature above. It is very effective for showing relief, particularly in areas where the landscape has subtle elevation changes.

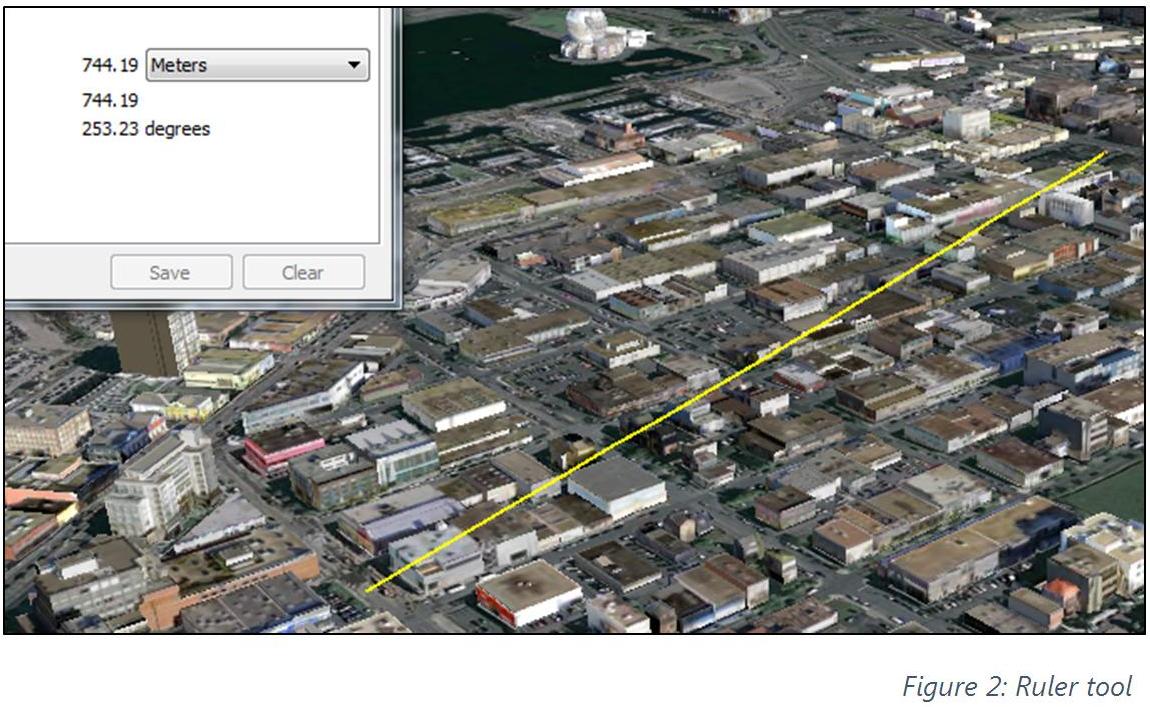
Ruler, Paths, and Elevation Profiles
Two icons to the left is the ruler tool, which can be used to measure linear distances in a variety of units directly from the map.
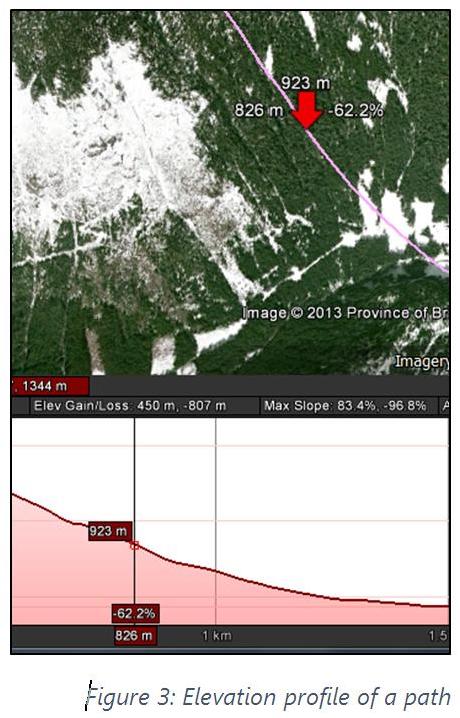
If you chose to save your measured distance as a path, right clicking that object in your “My Places” sidebar brings up the elevation profile (right click > show elevation profile), enabling you to view the elevation change and exact location of each elevation value along the path. You can do the same for other paths, including non-linear ones such as GPS tracks.
Google Maps
The transition to Google Maps can be made from within Google Earth by clicking this icon on the toolbar:

You can also visit the site directly.